Excellent PRO G‑R‑A‑F‑E‑N nail prep system step by step
How to prep the nail plate in the Excellent PRO G‑R‑A‑F‑E‑N System: Clean & Prep, then three steps with Dehydrator, Bonder No Acid and Multifunction G‑R‑A‑F‑E‑N Base. Finally, 60 seconds in the lamp.
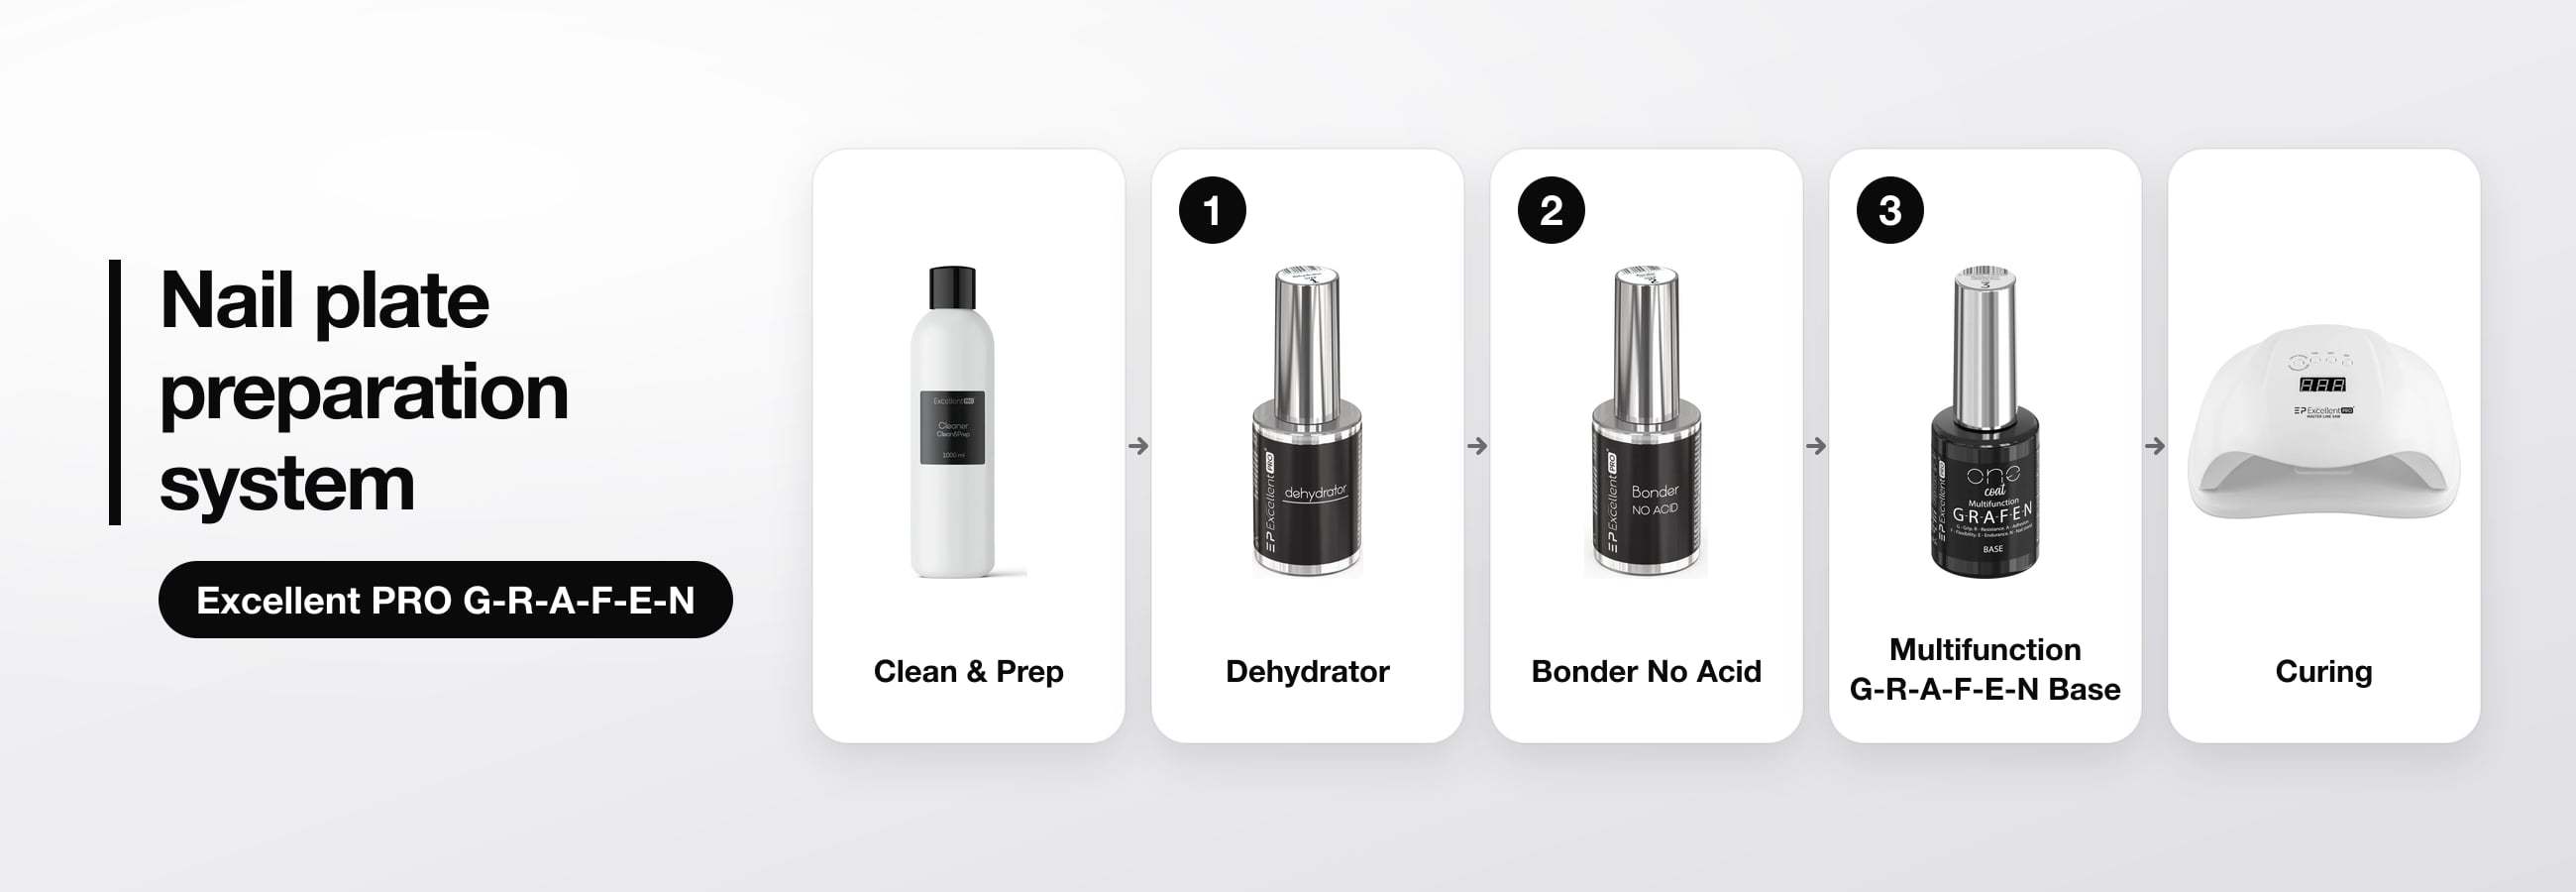
This post walks you through the Excellent PRO G‑R‑A‑F‑E‑N nail prep system: cleansing the nail plate with Clean & Prep, the three steps of the system (Dehydrator, Bonder No Acid and Multifunction G‑R‑A‑F‑E‑N Base) and curing the base in the lamp.
Below you will find a description of each stage. We start on a nail plate after manicure, already shaped and buffed.
- DehydratorApply generously to the whole nail plate and wait until it has fully evaporated.
- Bonder No AcidApply to the whole nail plate, including the sidewalls, without touching the skin.
- Multifunction G‑R‑A‑F‑E‑N BaseCover the whole nail plate with an even, glossy layer.
Clean & Prep
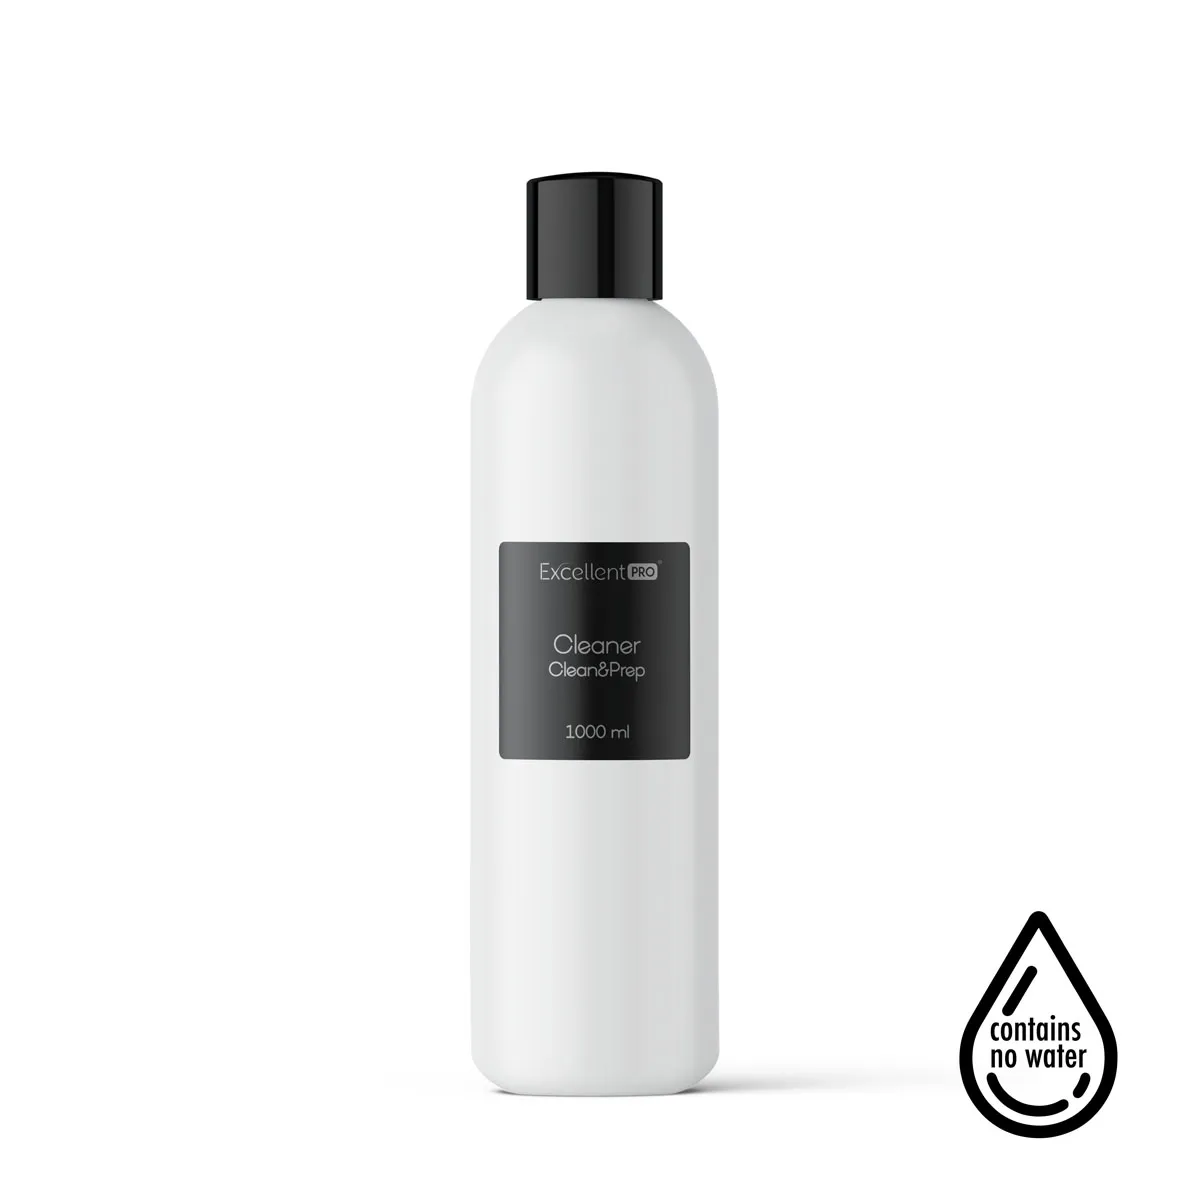
Wash the nails thoroughly with Clean & Prep to cleanse the nail plate, remove natural oils and clear any dirt and residue from its surface.
- Don’t skimp on the product: cover the whole nail plate with it.
- Then wait until it has fully evaporated.
Step 1 - Dehydrator
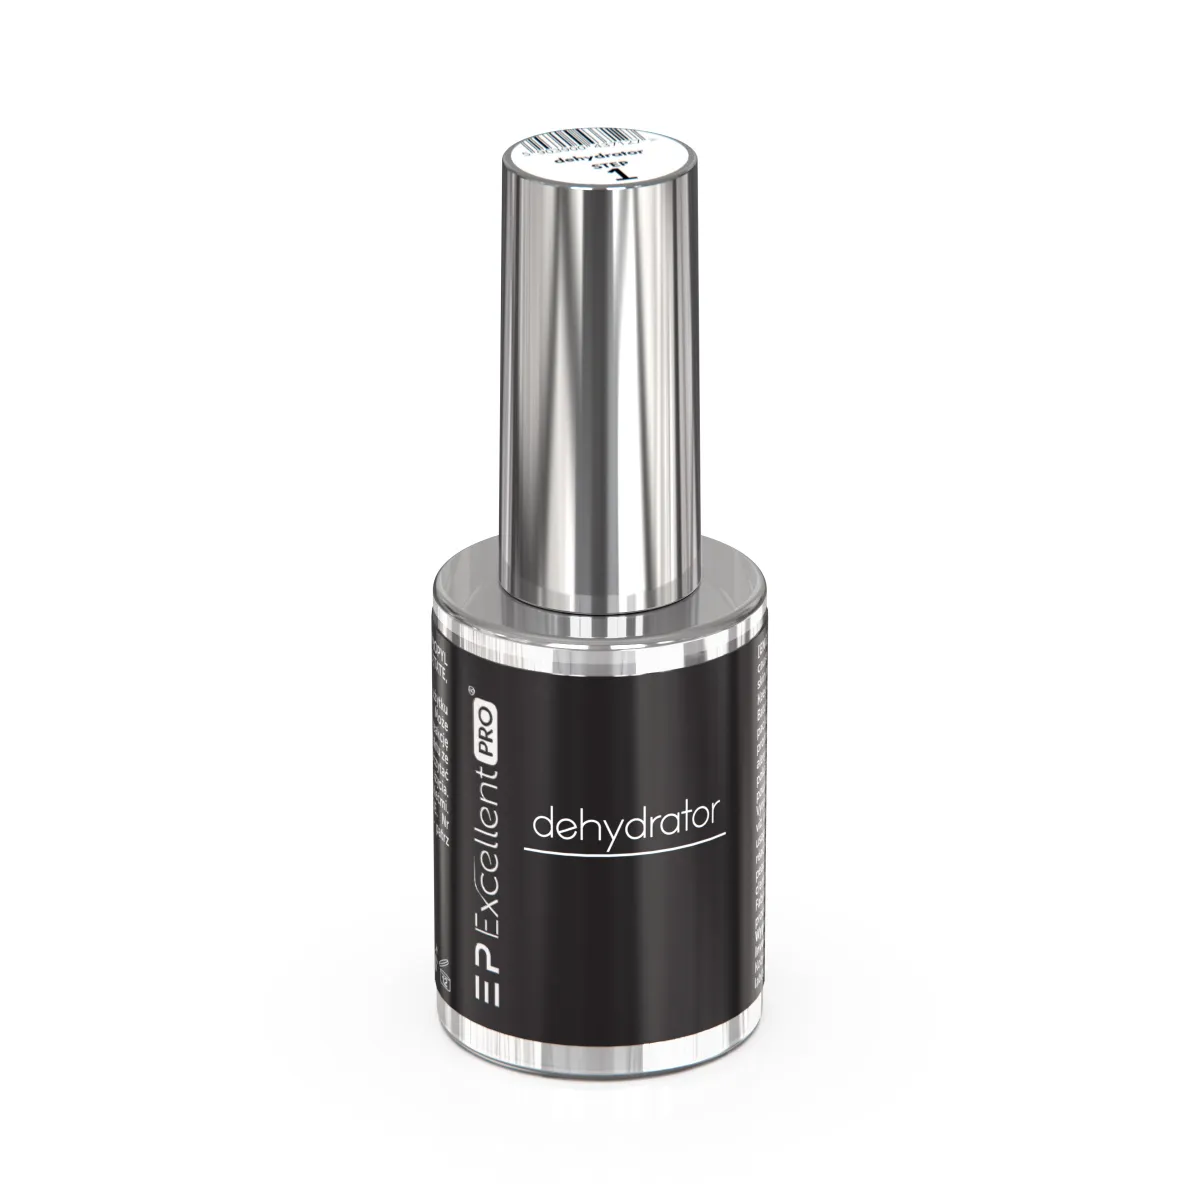
Dehydrator is designed, among other things, to remove excess moisture from the nail plate.
- Apply it generously to the whole surface of the nail plate and wait until it has fully evaporated.
- A properly prepped nail plate should be completely matte.
Note! A replacement product with the same properties in a larger bottle is Multifunction Liquid Adhesion Plus.
Step 2 - Bonder No Acid
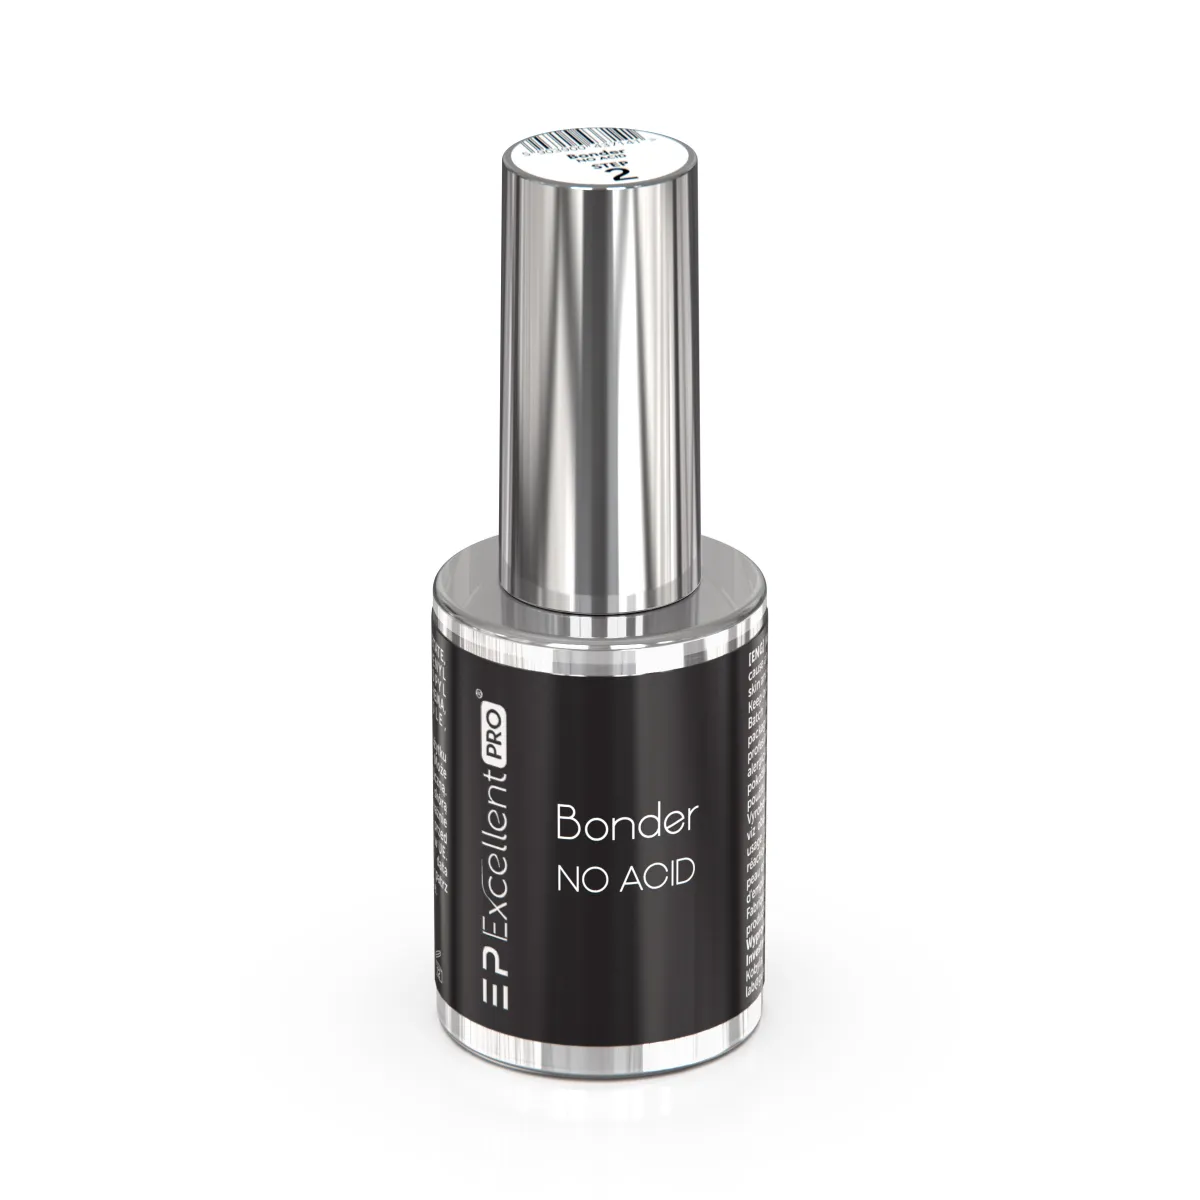
Bonder No Acid improves the adhesion of the products that follow. It works like double-sided tape, creating a layer that helps the products bond to the natural nail plate. Its liquid consistency replaces scrubbing in the base: it spreads easily over the surface and reaches into the grooves of the nail plate.
- Apply it to the whole surface of the nail plate, covering the sidewalls carefully as well.
- Make sure the product does not touch the skin.
Note! You can skip this step, but then you need to scrub in a thin layer of Multifunction G‑R‑A‑F‑E‑N Base first and apply another coat over it.
Step 3 - Multifunction G‑R‑A‑F‑E‑N Base
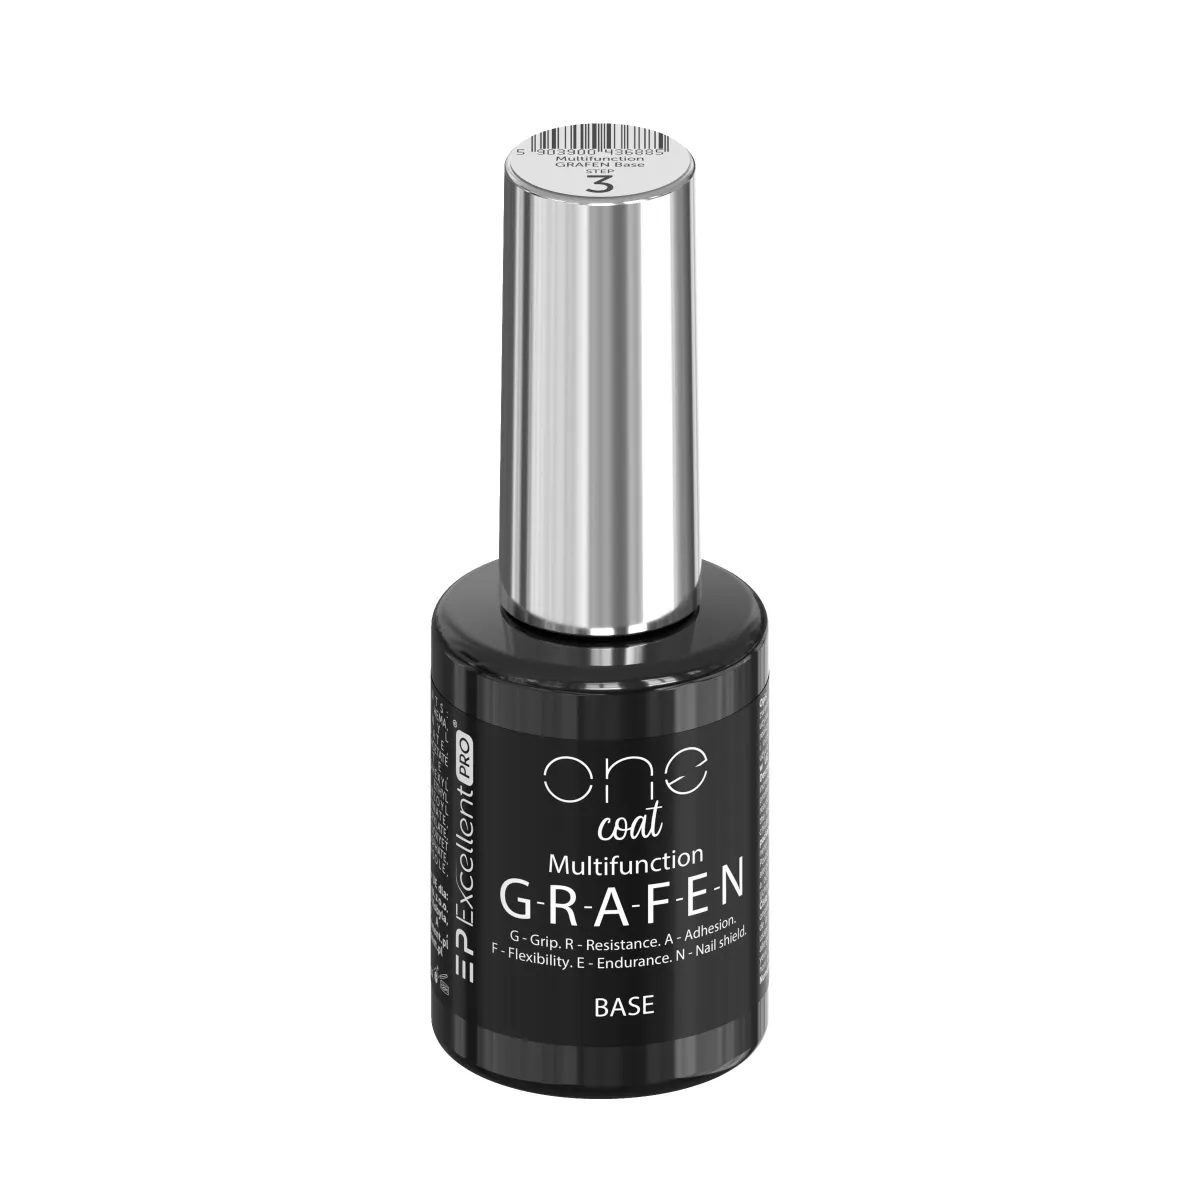
Multifunction G‑R‑A‑F‑E‑N Base is a base with a specially developed formula: its monomers and resins help fill grooves and level out unevenness in the nail plate. It supports the adhesion of the next layers and the durability of the manicure, and reduces the risk of air bubbles.
- You can apply the product straight from the bottle with its own brush or spread it with a clean gel brush.
- Cover the whole surface of the nail plate carefully.
- The base layer should be even and glossy. No scratches left from filing should be visible.
Note! If you skipped Bonder No Acid, remember to scrub in a thin layer of Multifunction G‑R‑A‑F‑E‑N Base first and then apply another coat over it, so that the surface is even and glossy.
Curing
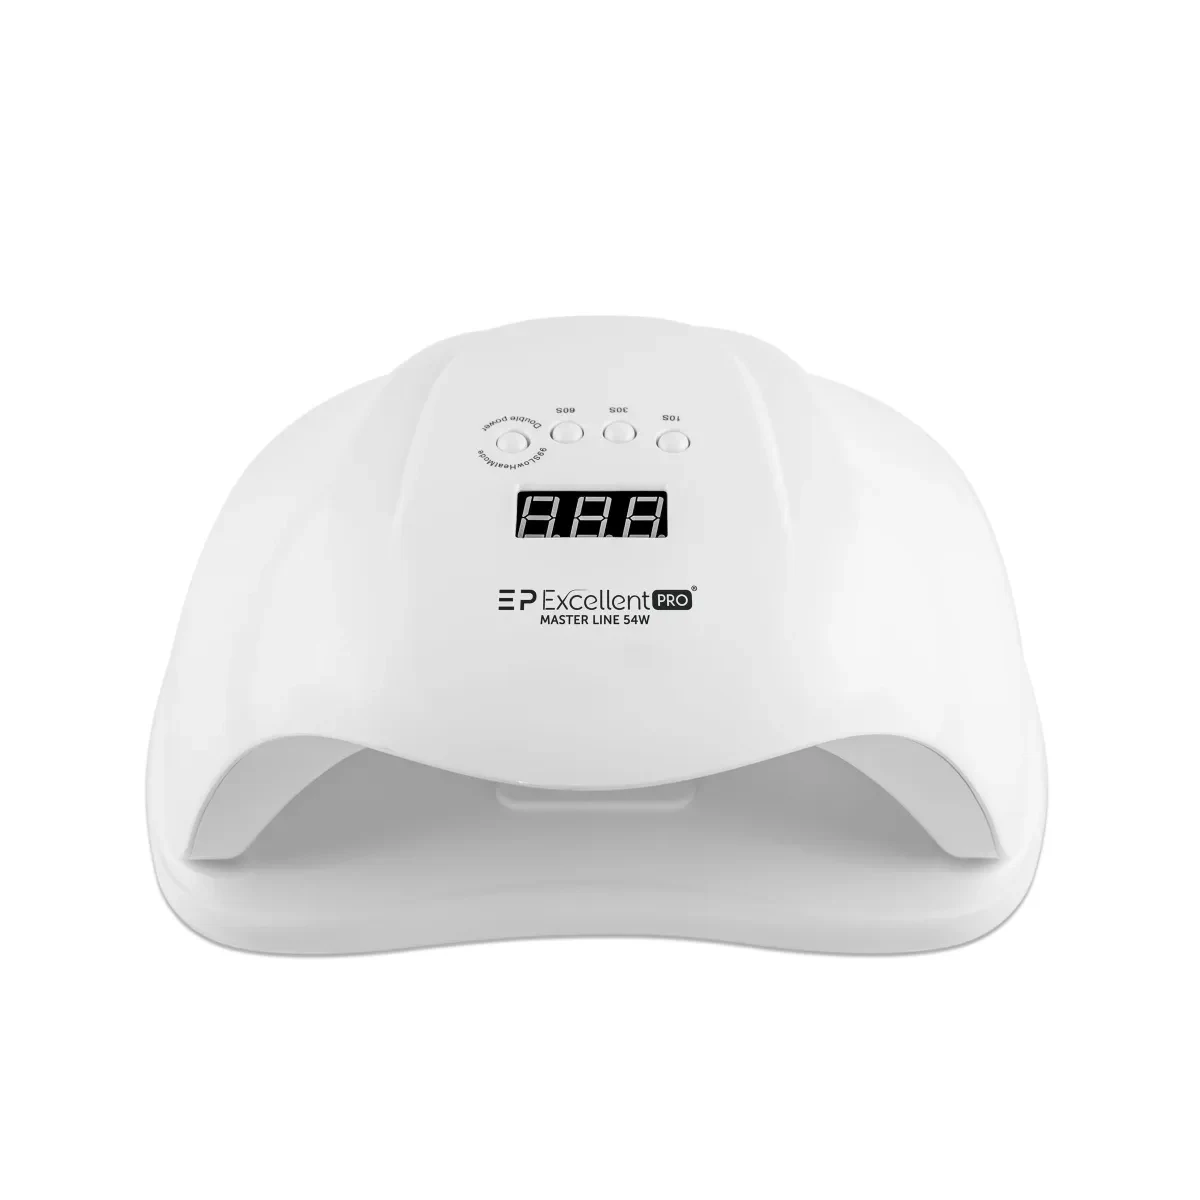
Cure the layer of Multifunction G‑R‑A‑F‑E‑N Base in an Excellent PRO lamp for 60 seconds, following the recommendations for the product and the lamp.
You can check the curing time for your lamp in the curing times table.
Order of work
You start by cleansing the nail plate with Clean & Prep, then carry out the three steps of the system:
- Dehydrator,
- Bonder No Acid,
- Multifunction G‑R‑A‑F‑E‑N Base.
Finally, you cure the base in an Excellent PRO lamp for 60 seconds.
Want to know more about the system itself? Read the complete description of the Excellent PRO System or the post on how to improve adhesion and avoid air bubbles.
Check the curing times of G‑R‑A‑F‑E‑N Base in your lamp or see what else G‑R‑A‑F‑E‑N Base, the base for everything can do.