How to prepare a new gel brush before first use?
A short step-by-step guide to preparing a new Excellent PRO gel brush - removing the cover, breaking up the resin, dipping in the base, draining the excess and securing.
If you’ve just opened a package with a new gel brush - congratulations. Before you begin styling, however, it’s worth properly preparing the tool for work. Thanks to this, the brush will serve you longer and the application of products will be precise and comfortable. Here’s a short step-by-step guide.
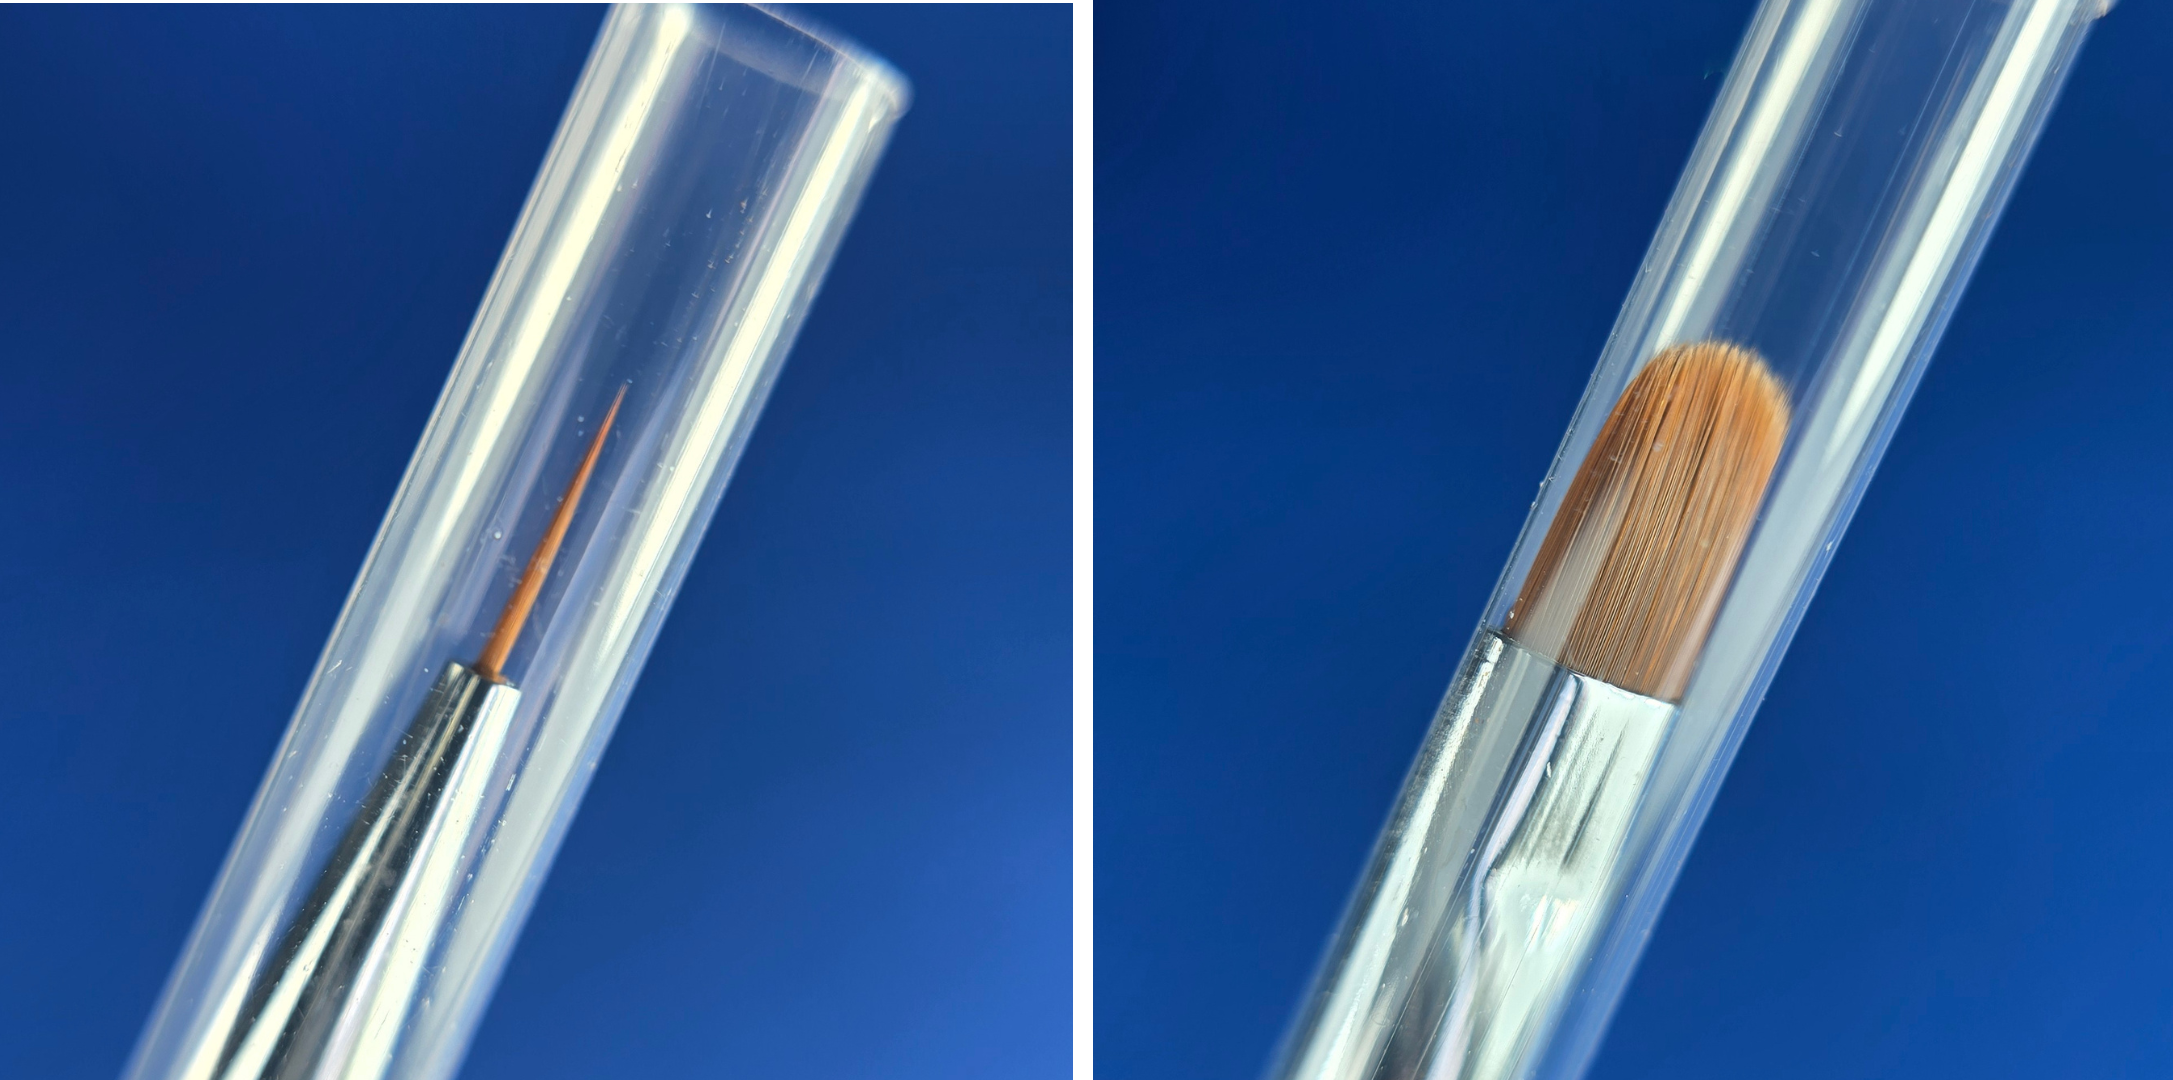
Step 1: Remove the protective cover
After taking the brush out of the packaging, remove the plastic cap. Remember that inside the bristles there’s a special resin that secures the shape of the brush during transport.
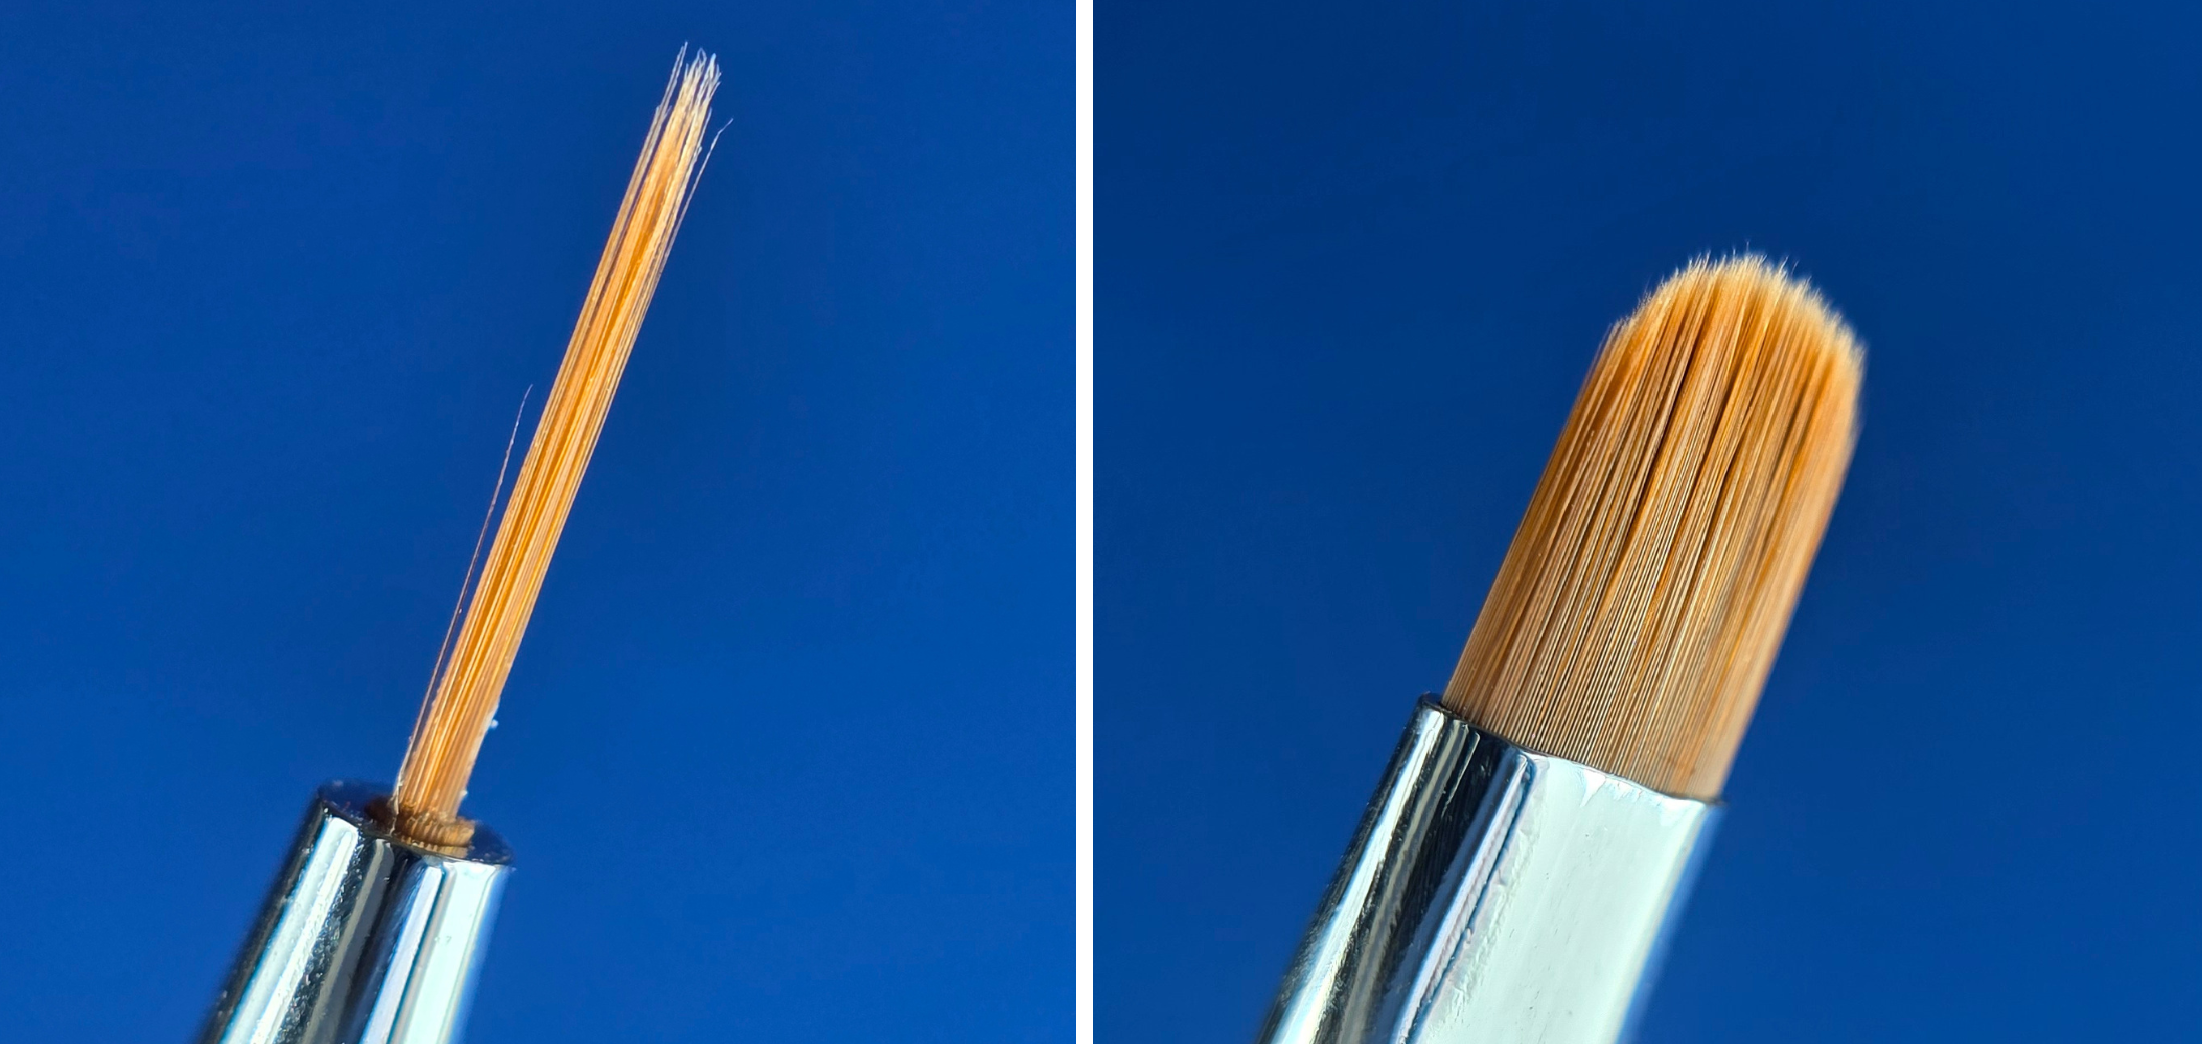
Step 2: Break up the resin
Gently rub the brush bristles between your fingers to break up the dried resin. Do it carefully so as not to damage the bristles - the goal is to restore their softness.
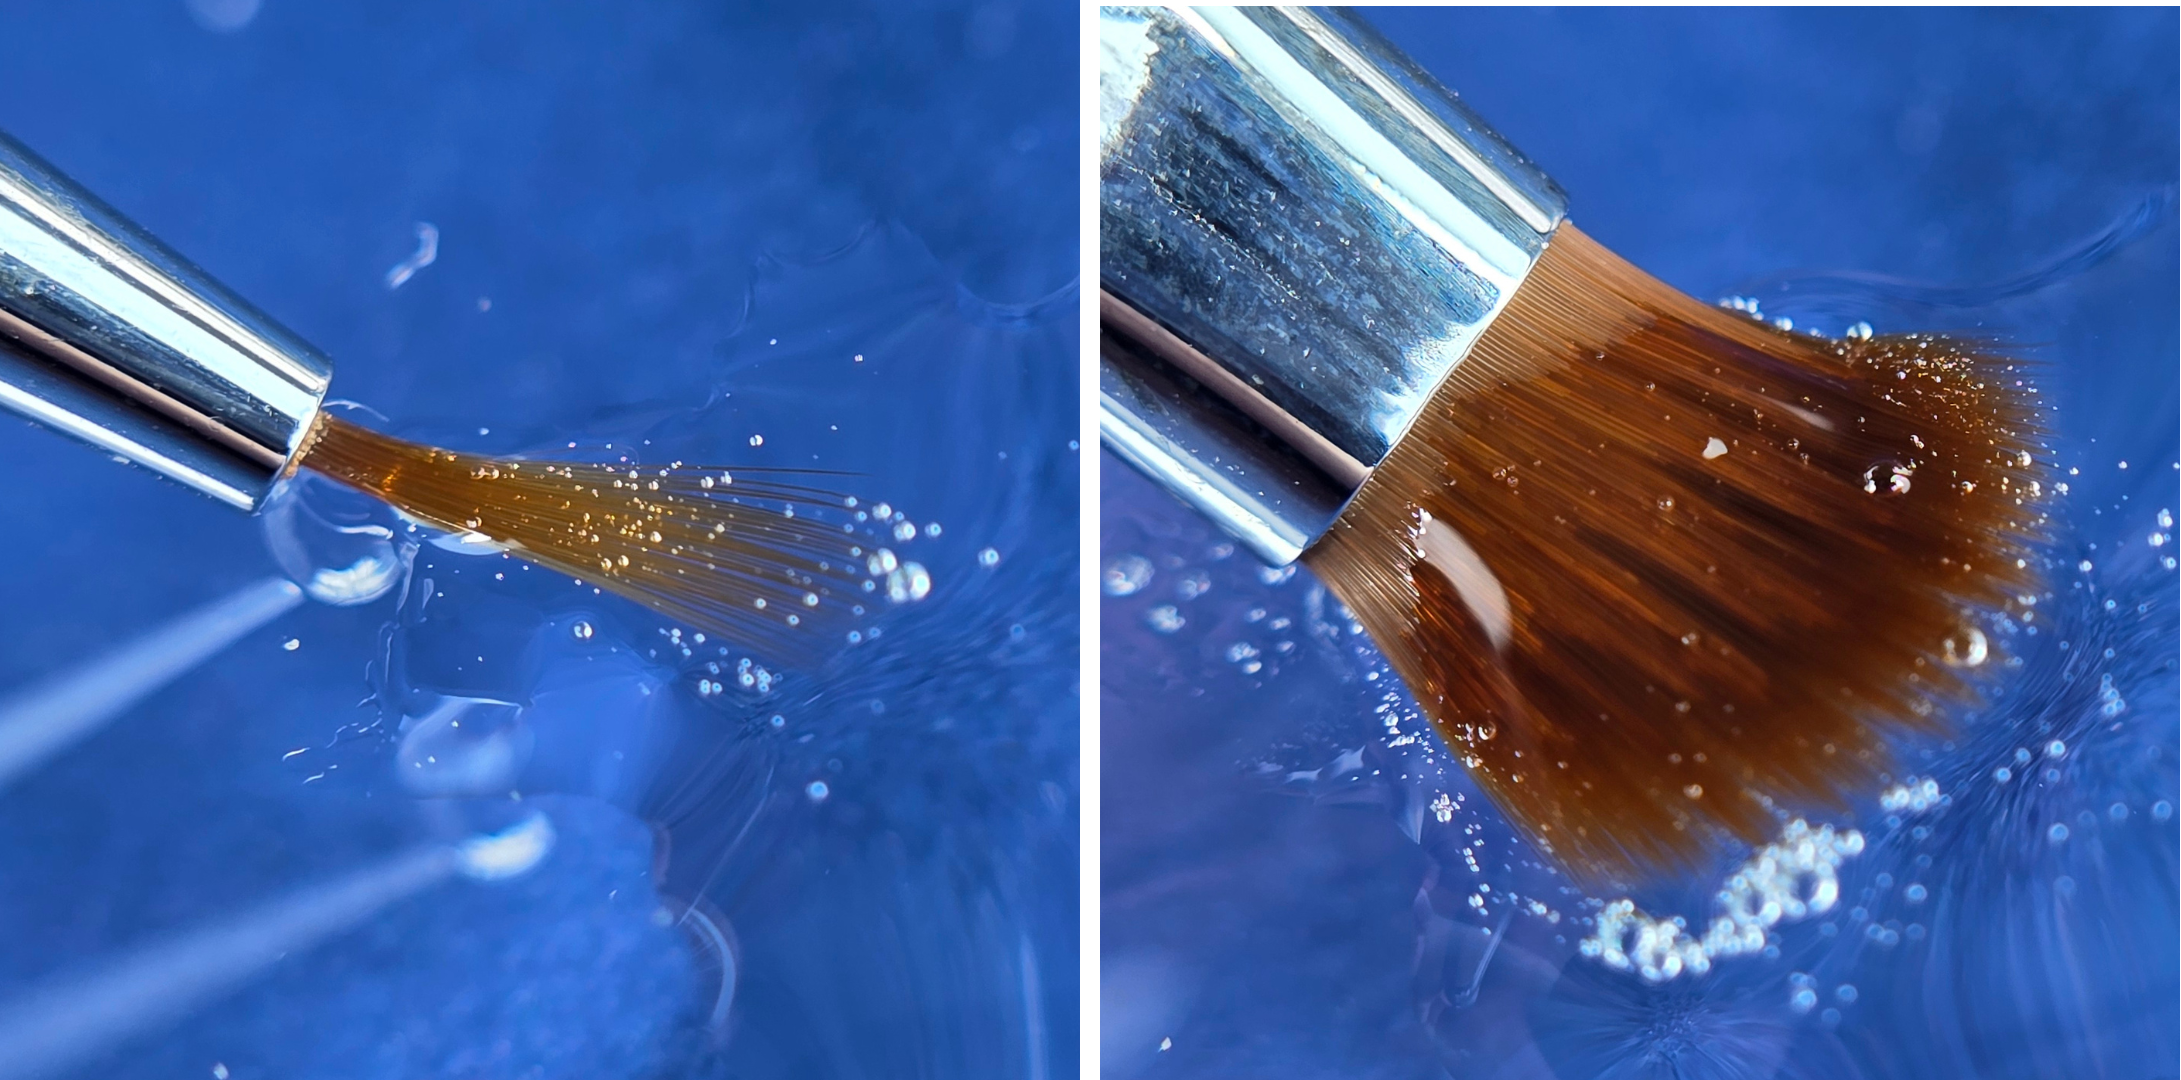
Step 3: Dip the brush in the base
The bristles need to be thoroughly soaked in the hybrid base. The base should reach every hair - “saturate” the brush and force air out from the middle. Thanks to this, you gain full flexibility and readiness for work.
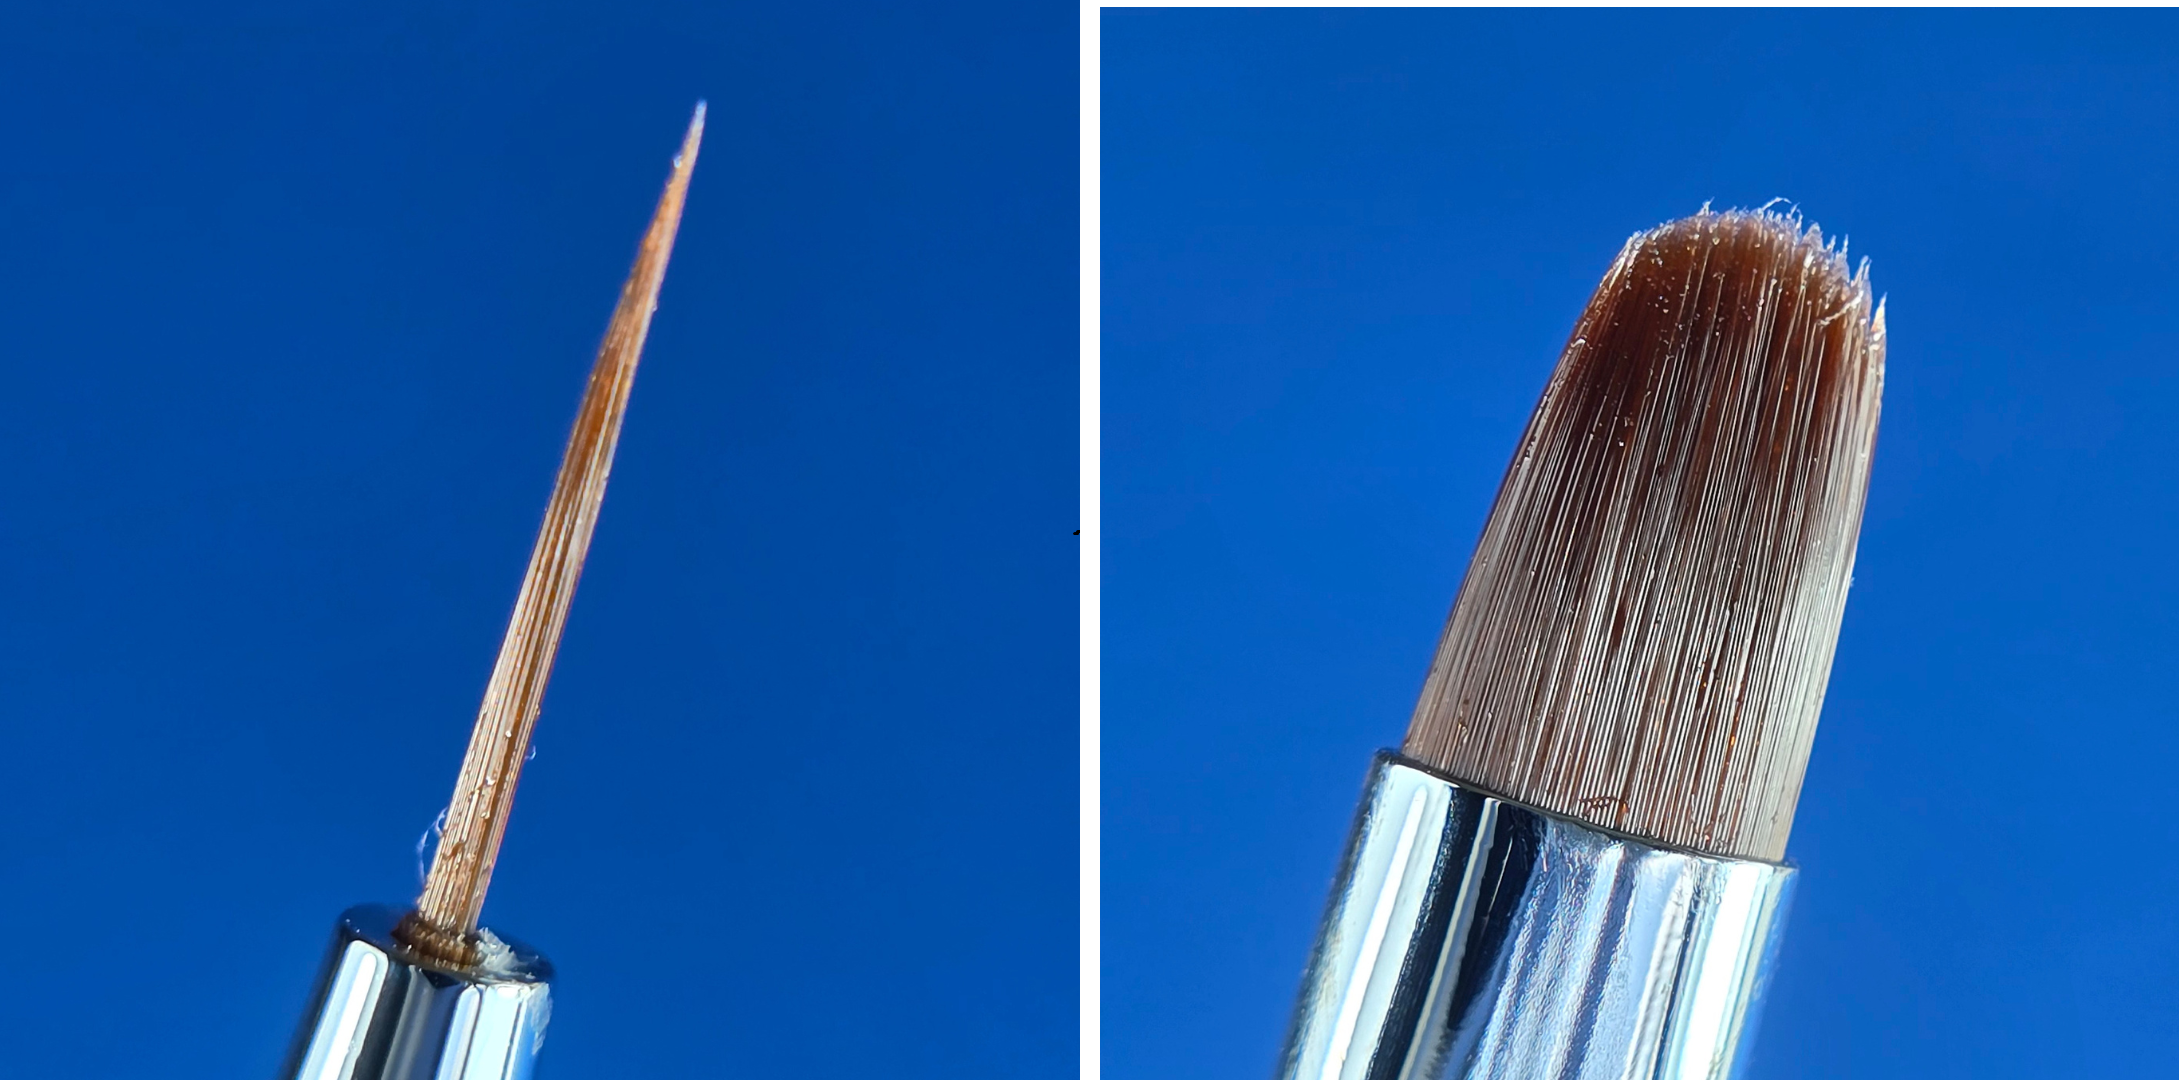
Step 4: Drain the excess base
Wipe the bristles in a dry, dust-free cotton pad to remove the excess product. The brush shouldn’t be too wet - the point is for it to be flexible but not “swim” in the base.
Step 5: Secure the brush
After preparation, you can re-apply the protective cover to protect the bristles from light and contamination - especially if you don’t plan immediate use.
And done. Your new brush is now properly prepared for working with gel. Remember that proper care and preparation of tools is the basis for precise and hygienic styling.
Looking for the perfect gel brushes? Check the Excellent PRO brush collection or see our interactive gel comparison and choose the perfect product for your work style.