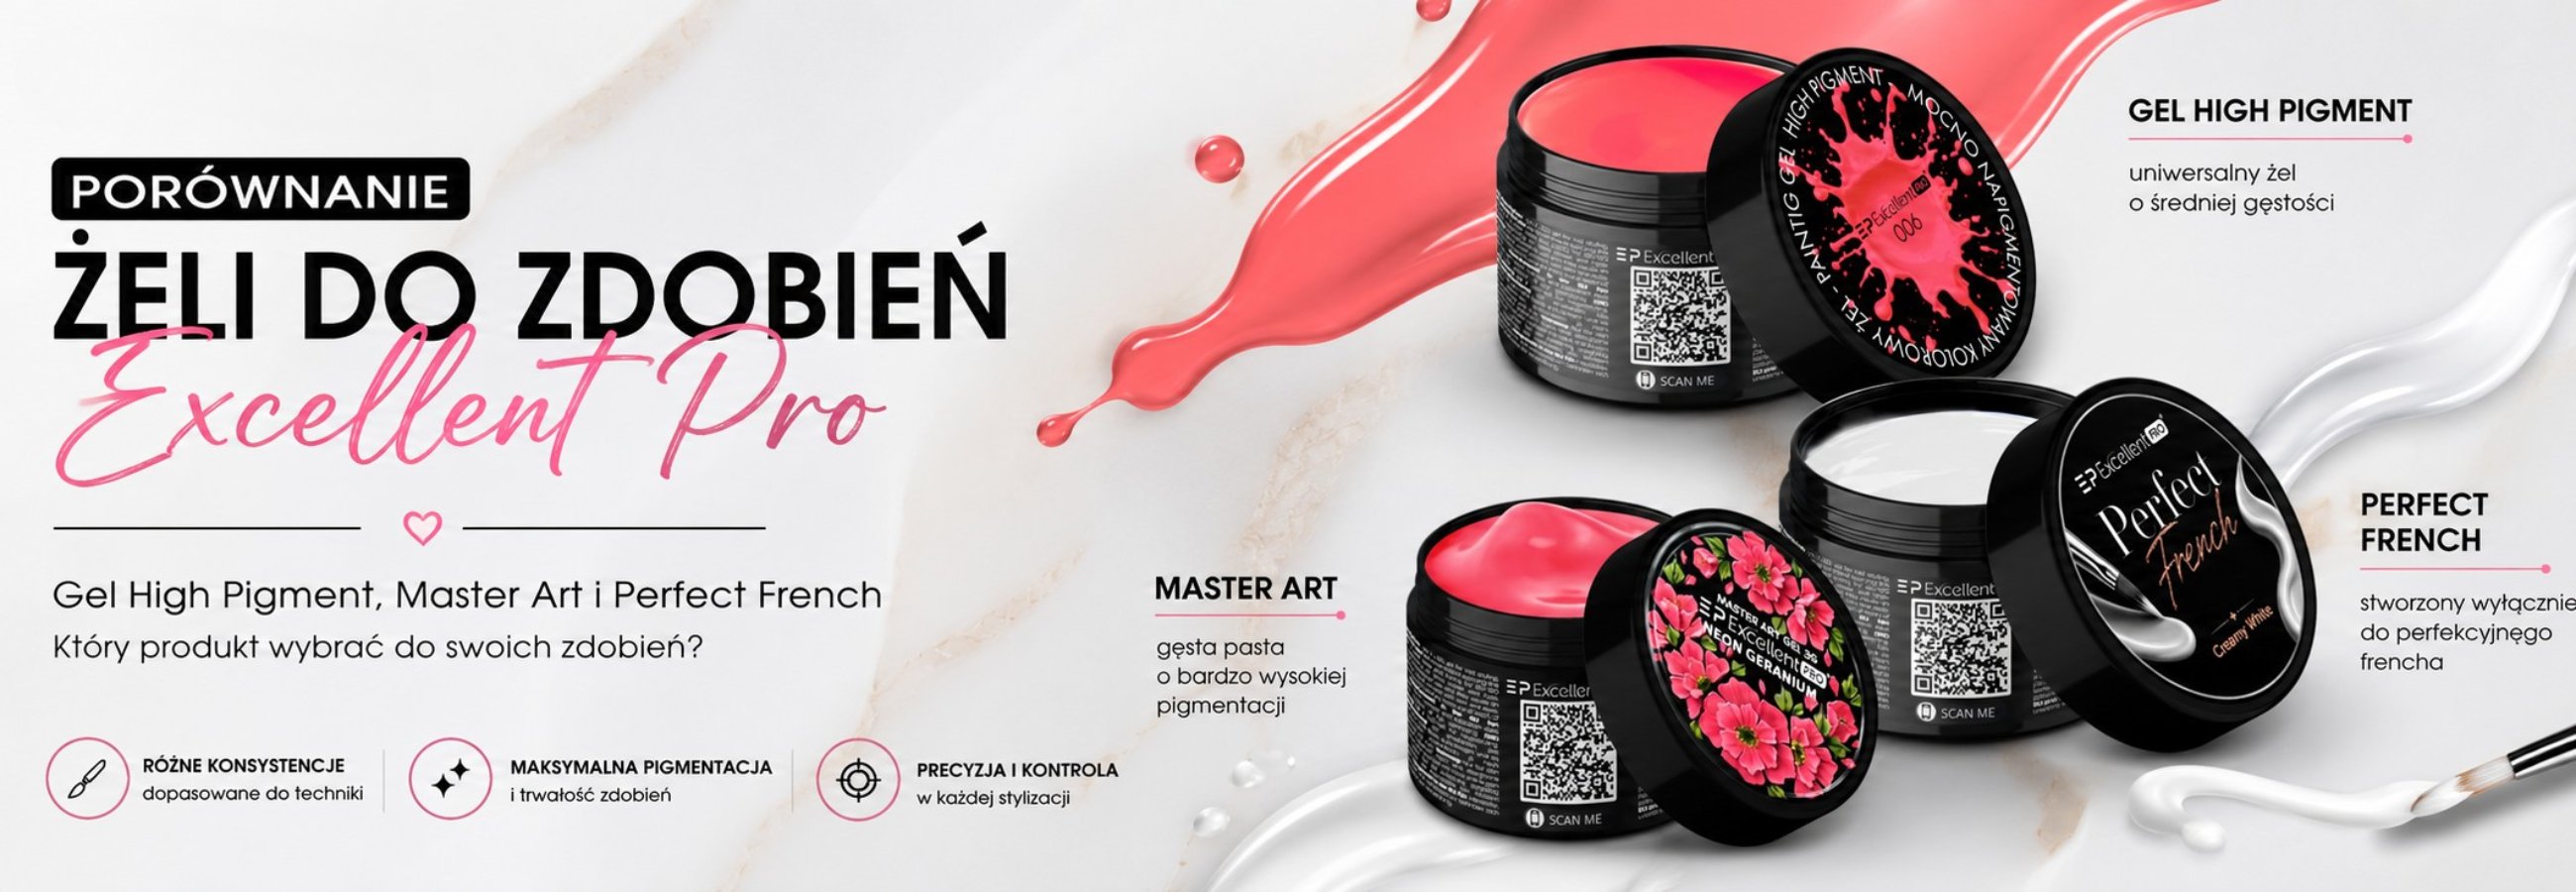
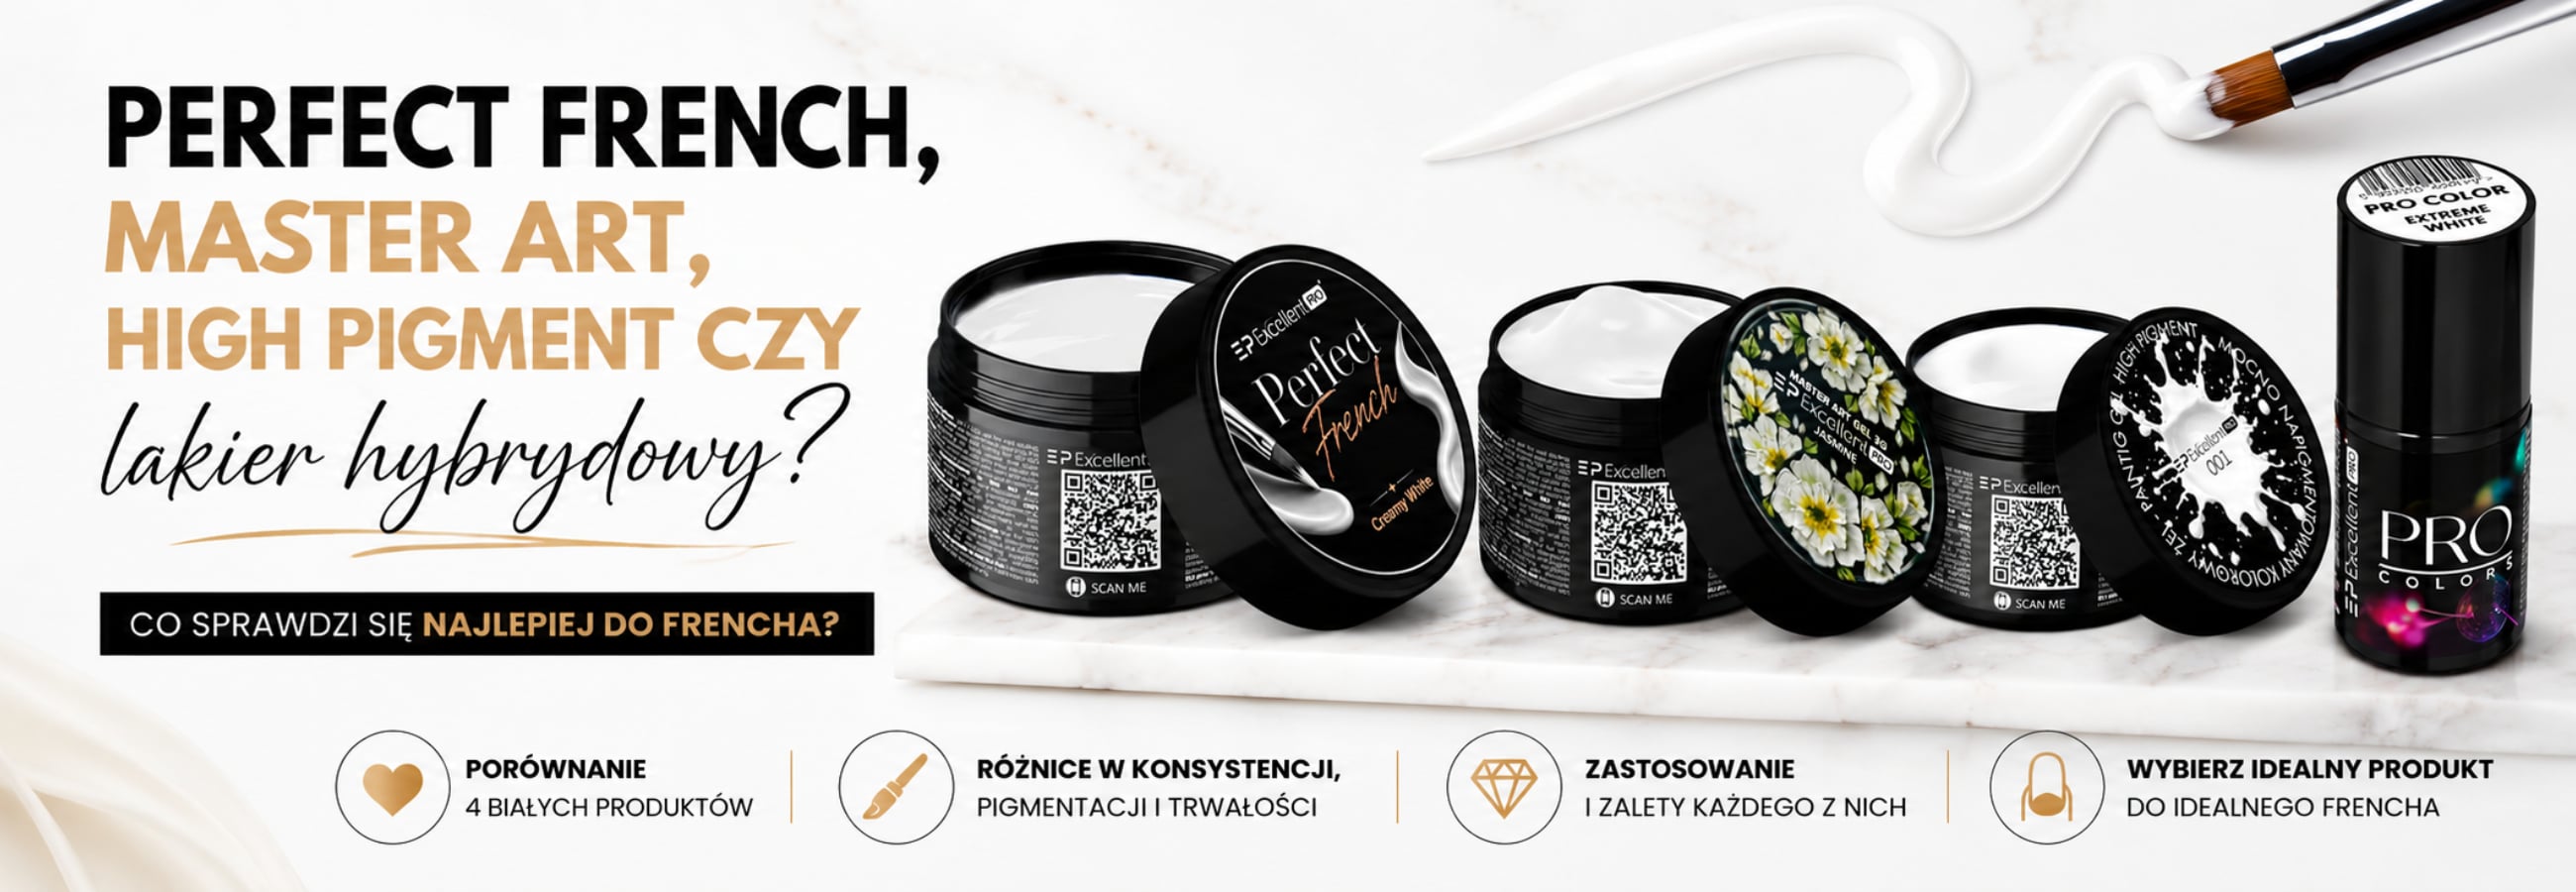
How to Create Perfect Ombre Nails with a Sponge? A Practical Guide Using Master Art
Ombre nails step by step: choosing colors with the color wheel, the sponge dabbing technique, building the gradient in thin layers and finishing with a top coat. A guide with Excellent PRO products.

Ombre nails - a technique that never goes out of style
Ombre is one of the most popular nail decorating techniques. Soft color transitions work just as well in subtle nude designs and pastel manicures as in bold, contrasting compositions. The gradient effect can be adapted to any season, occasion or client preference, which is why it has remained so popular for years.
One of the most frequently chosen ways of creating ombre is the technique using a sponge. It lets you achieve soft, natural color transitions and gradually build up the intensity of the design.
Which products work best for ombre?
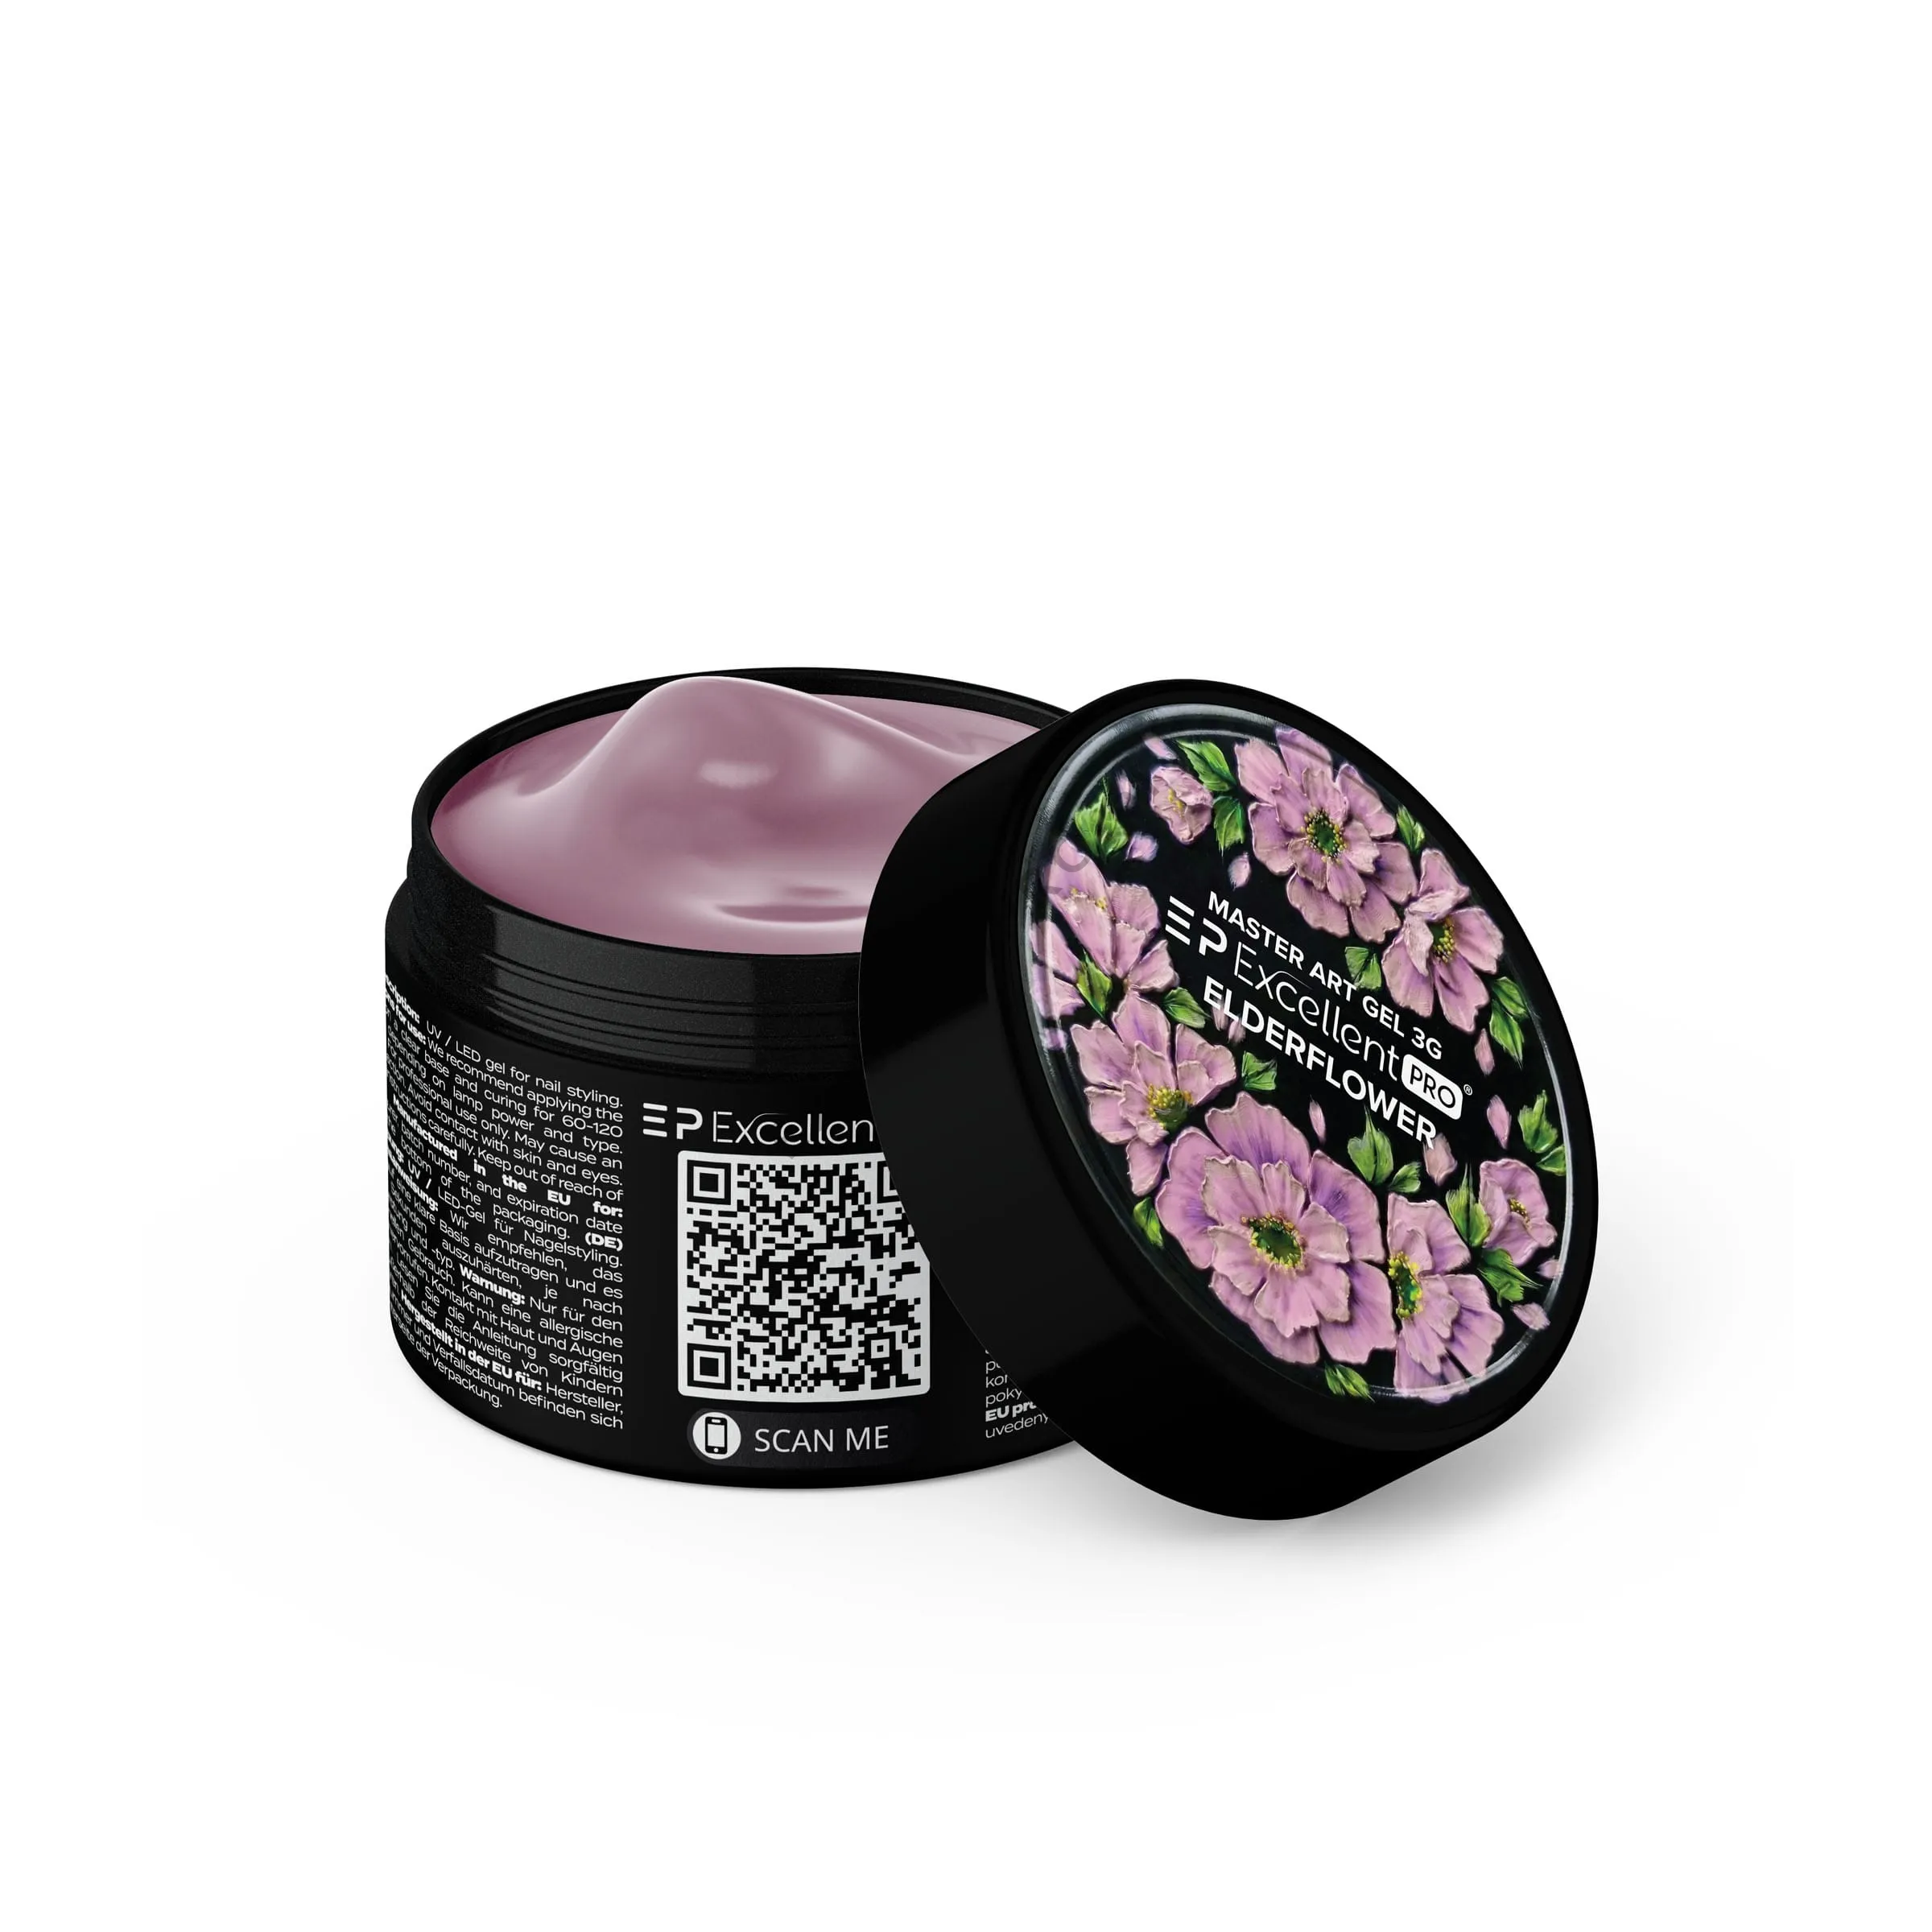
The final result depends not only on your technique, but also on the right products. To create ombre it is worth preparing:
- Master Art Excellent PRO,
- Excellent PRO ombre sponges,
- an Excellent PRO sponge clamp,
- a finishing top coat - classic or Milky Top Excellent PRO.
The right accessories increase working comfort and help you achieve more repeatable results, especially when working in a salon.
Why does Master Art work so well for ombre?
Although Master Art Excellent PRO was created above all with precise nail art in mind, such as One Stroke or Zhostovo, it also works perfectly for ombre.
Its thick consistency prevents the product from spreading, and its high pigmentation lets you build the color gradually without applying a thick layer. Thanks to this the nail technician has more control over the intensity of the gradient and can achieve both delicate shading and more expressive effects.
Master Art also works great for creating a painted baby boomer, which has remained one of the most popular salon designs for several seasons now.
How to choose colors for ombre?
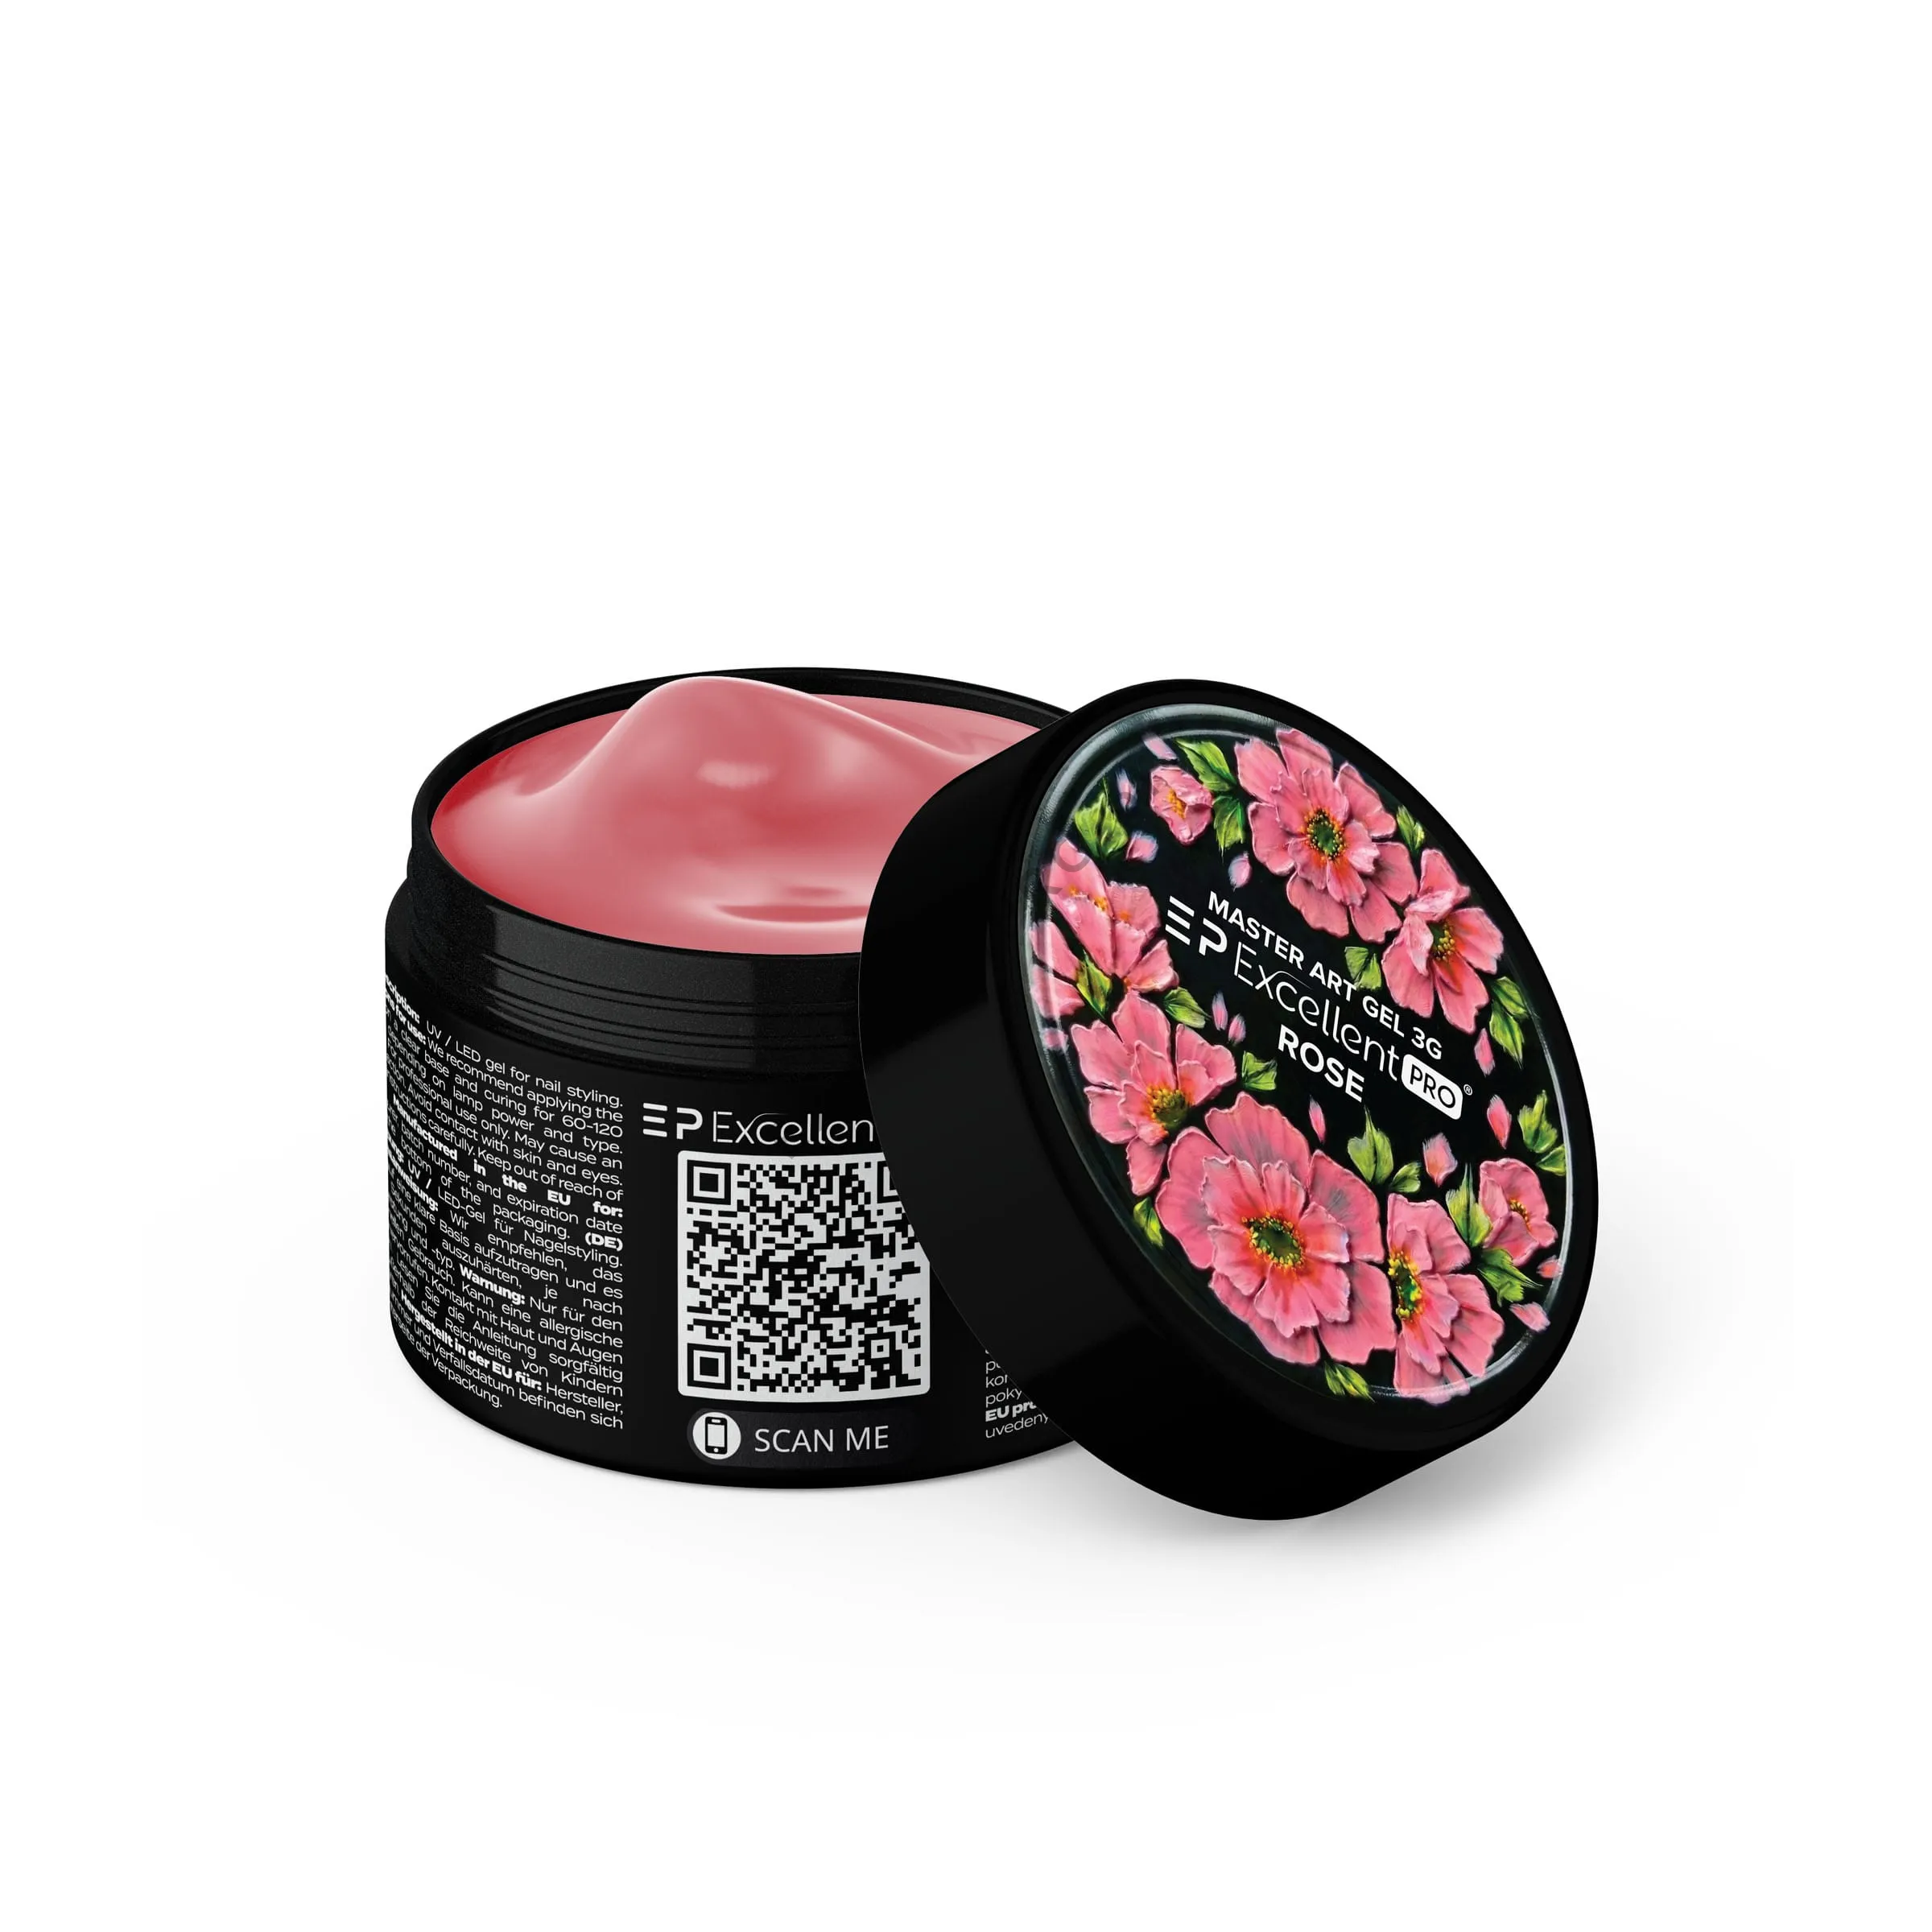
The choice of colors has a huge impact on the final result. It is worth following the rules of the color wheel - colors next to each other will create harmonious and subtle transitions, while contrasting combinations will give a more expressive manicure.
Before you start, it is a good idea to make a test on a color chart. This will let you assess how the colors blend after dabbing with the sponge. Keep in mind that some combinations, for example red with green or blue with orange, may create a muted shade when mixed. In such cases a good solution is to use an intermediate color or to make a more delicate transition.
How to achieve a smooth color transition?
While creating ombre it is worth remembering a few simple rules:
- apply a small amount of product to the sponge,
- build the effect in thin layers,
- dab the sponge with gentle, stamping movements,
- use a clean part of the sponge for each following nail,
- gradually increase the intensity of the color instead of trying to achieve the full effect at once.
This approach lets you achieve soft, neat transitions without visible borders between the colors.
How to finish the design?
Once the design is done, the whole nail should be protected with a top coat. A classic top coat will emphasize the intensity of the colors and give the design a high gloss.
If you want an even more delicate effect, it is worth reaching for Milky Top Excellent PRO. Its semi-transparent, milky formula subtly softens the color transitions, giving the ombre a slightly hazy look. This is a perfect solution especially for pastel designs and the soft ombre effect.
Summary
Ombre done with a sponge is one of the most versatile nail decorating techniques. Well-chosen colors, patiently building the effect and high quality products let you create smooth, neat transitions that delight clients regardless of current trends.
If you are looking for a product that works not only for precise nail art but also for a striking ombre, Master Art Excellent PRO will be an excellent choice. Combined with ombre sponges, a sponge clamp and Milky Top Excellent PRO it forms a set that makes the work easier and helps you achieve a professional result.
Choose your ombre colors in the Excellent PRO color charts and check the curing times of the nail art products.